Pour-Over Degassing: Your Freshness Timeline Explained
By Maya Patel • 6th Dec
You’ve brewed with fresh beans only to get sour, flat coffee? That is pour-over degassing playing tricks on your palate. Understanding the pour-over freshness science is not just roaster jargon (it is your secret weapon for consistency). Let’s cut through the noise with a practical timeline you can trust, no lab coat required. Because great coffee starts with one controllable change: respecting the rest.
Why Degassing Matters for Your Pour-Over (It's Not Magic, Just Chemistry)
When coffee beans roast, they are not just browning (they are breathing out). Extreme heat creates carbon dioxide (CO2 in coffee) that gets trapped inside the bean. Think of it like shaking a soda can: if you brew too soon, that gas fights your water instead of helping it extract flavors. For pour-over lovers, this means:
- Uneven extraction (water avoids CO2 bubbles, skipping key compounds)
- Sour, hollow cups (under-extracted acids dominate)
- Wasted beans (you paid for complexity you never taste)
"Start where you are; one variable, one win, then another."
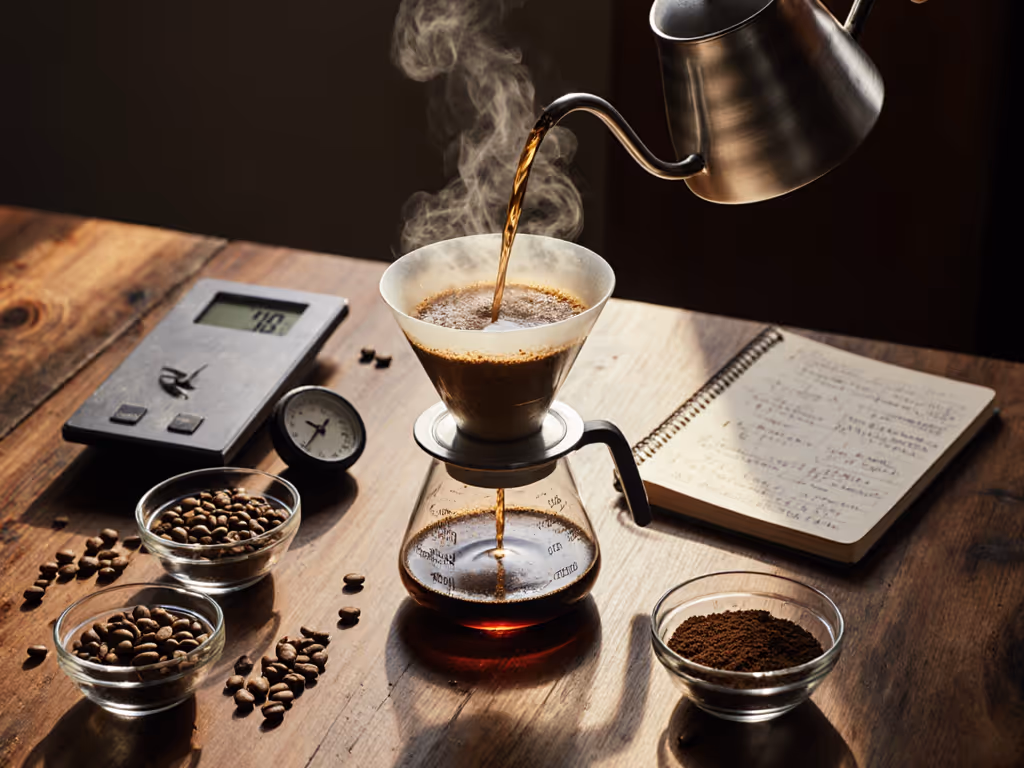
Your Practical Degassing Timeline: No Guesswork Needed
Forget conflicting advice. Here is what actually works for pour-over, based on years of teaching neighbors with standard gear:
✅ The Sweet Spot: 48-96 Hours After Roast
For most washed-process medium roasts (your ideal beginner beans!), wait 2-4 days. This gives CO2 time to settle without losing vibrancy. Why this window? Curious how washed, natural, and honey processes change rest timing and cup profile? See our pour-over processing guide.
- Day 1: 40% of CO2 escapes rapidly (too gassy for clean extraction).
- Day 2-4: Gas release slows. Water now penetrates evenly, pulling out sweetness and fruit notes.
- Beyond Day 7: Flavors fade as CO2 (which protects aromatics) vanishes completely.
🌰 Real-Life Adjustments for Your Beans
| Factor | Shorter Rest (1-2 Days) | Longer Rest (5-7 Days) |
|---|---|---|
| Roast Level | Dark roasts (more bean cracks = faster gas escape) | Light roasts (denser = slower release) |
| Processing | Natural/honey processed (sugars slow degassing) | Washed process (cleaner = predictable) |
| Brew Goal | Bright, tea-like cups | Balanced, rounded profiles |
Note: Espresso needs 7-14 days, but pour-over is forgiving! Your 3-minute brew time has more extraction leeway than espresso's 25 seconds.
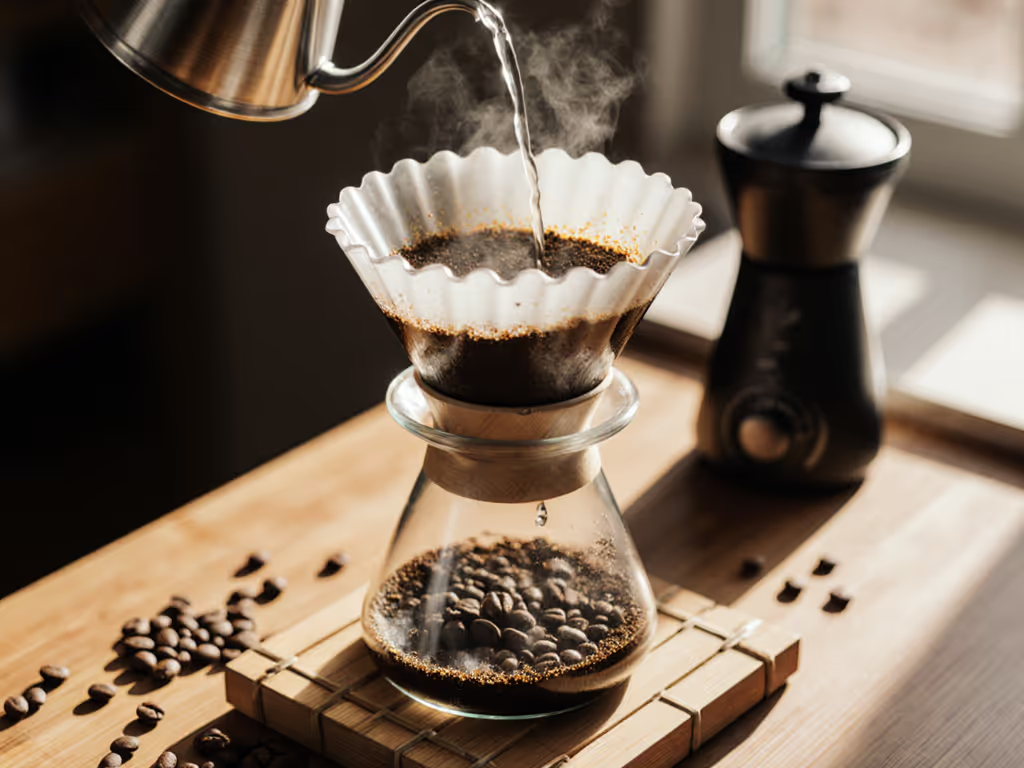
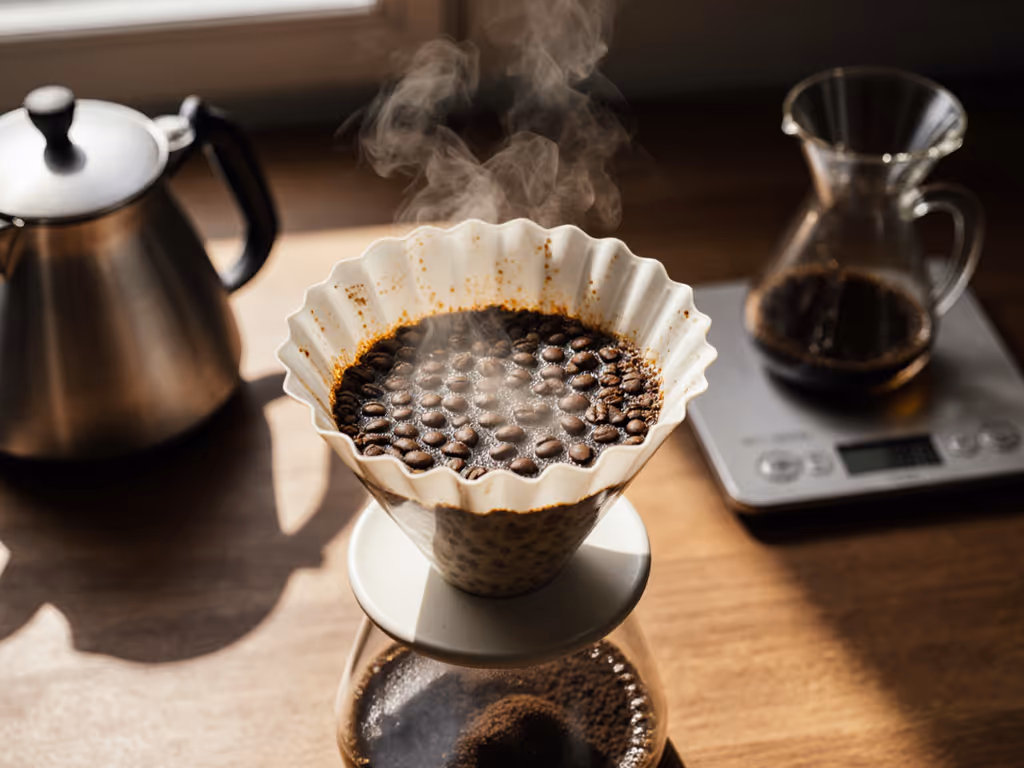
Mastering the Bloom Phase: Your 30-Second Fix
That initial puff of steam when you pour hot water? That is trapped CO2 escaping (the bloom phase). For pour-over, this is your active degassing safety net: Before you start, dial in particle size with our brewer-specific grind size guide.
- Grind your beans (medium-fine, like sea salt)
- Pour 2x coffee weight in hot water (e.g., 60g water for 30g coffee)
- Wait 30-45 seconds until bubbling slows (not stops!)
Why not 60+ seconds? Over-blooming steeps grounds too long in acidic CO2-rich water, muting sweetness.
I saw this click for a new brewer at our community workshop: she'd been skipping bloom, then wondering why her $20 beans tasted like vinegar. One small change (timed blooming) made her gasp at the sweetness. One small change, noticeably better.
Signs Your Coffee Isn't Rested Enough (Or Too Long)
No calendar? Use your senses. These are exactly what we teach in our tap-water brewing classes: If your tap runs hard or tastes off, use our pour-over water quality guide to avoid flavor swings that mimic under- or over-resting.
🔴 Under-Rested (Brewed Too Soon)
- Sour, sharp acidity (like unripe fruit)
- Papery dryness in the finish
- Bubbles racing during bloom (water looks violently fizzy)
🟢 Just Right
- Balanced sweetness (think brown sugar or honey)
- Clean finish without harshness
- Gentle bubbles during bloom (water settles smoothly)
🔵 Over-Rested (Brewed Too Late)
- Flat, "stale" flavor (cardboard-like)
- No bloom reaction (water just sits there)
- Weak body (like weak tea)
The Real Talk: Why This Beats Gear Upgrades
I get asked: "Should I buy a degassing valve bag?" Not yet. At our library workshops, we prove time and again that coffee resting period mastery beats gadgets:
- Tap water + basic grinder + 3-day rest = sweeter coffee than fancy water + flawless grinder + fresh beans
- No special equipment needed, just patience and observation
- Saves beans (no more wasted "bad brews" while dialing in)
A doctor in our group summed it up: "I brewed the same beans at Day 1 and Day 3. The difference wasn't subtle, it was obvious. I'd wasted months chasing grinder settings when I just needed to wait."
Your Action Plan: Start Where You Are
- Flip your bag: Check roast dates (not best by dates!).
- Set a timer: For medium roast, wait 72 hours minimum.
- Bloom right: 30 seconds, no more.
- Taste honestly: Is it sour? Wait longer next time. Flat? Use sooner.
One small change, noticeably better. That is how confidence grows, not from perfect gear, but from understanding one variable at a time. The beans you already own? They are full of potential. You just need to give them space to breathe.
Further Exploration
- Track your brews: Note rest time, bloom duration, and taste in a free app like BrewBook
- Try a "rest test": Brew the same beans at Day 2, 4, and 6; taste differences are revelatory
- Remember: Water matters too! If your tap is hard, a $20 filter can amplify degassing benefits
Related Articles
Brewing Techniques & Coffee Science
Dense Bean Extraction: Control Your Pour Over Variables
24th Apr•7 min read

Brewing Techniques & Coffee Science
High-Sugar Coffee Beans: Pour-Over Extraction Guide
12th Apr•8 min read
Brewing Techniques & Coffee Science
High TDS Water Pour Over: Flow & Extraction Guide
31st Mar•7 min read